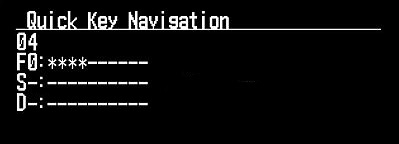
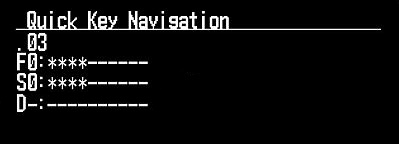
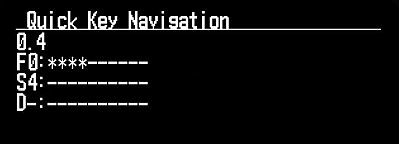
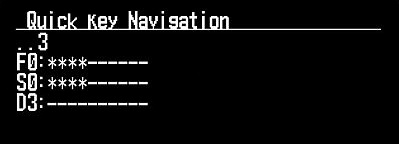
|
All of the information
contained in the scanner is stored on a micro SD card supplied with the
scanner.
This includes Profiles, Favorites Lists, all the radio settings, and
the Radio Reference database.
Profiles
A Profile is a group of settings that includes your Favorites List settings
(download/monitor status, quick key status), location information (zip code,
any saved locations, location range, GPS options), Service Type selections,
Search and Close Call settings, weather settings, Tone-Out settings, and all
your basic radio settings (display options, replay options, etc.).
The first time you use the
scanner to set a location you will start to setup a profile. Only one profile
at a time can be used in the scanner. You can create multiple profiles for
different locations,
Favorites List selection, or scanning preferences. The Sentinel software
allows you to download your profile from the scanner, edit, save, and create
new profiles to upload them back to the scanner.
Profiles also hold your
Favorites Lists settings (not the actual lists) for monitoring and uploading to the scanner. If you
delete a profile (in the software), your Favorites Lists will still be there.
When you create a new profile, you can select which Favorites Lists will be
associated (enabled or disabled) with the new profile.
Favorites Lists
Because the memory is based on the Radio Reference database
we now have a different order of organization not like banks and channels in
traditional scanners, but more like Dynamic Memory Architecture. You can now
use Favorites Lists that follow RR database structure of Systems that contain
Departments that hold the Channels (conventional frequencies or IDs) and then
there are Sites to hold just the trunking frequencies, which generate the IDs.
Favorites Lists will allow you
to store channels you find when you are scanning from the Full Database (the
easiest way). They can contain channels from trunking systems and
conventional systems. You can also manually add systems, (not single sites),
departments and channels into Favorites Lists from the database as well as
program new systems, departments, sites, and channels with the Sentinel
software.
You can save up to 256
different lists in the scanner (and software) and associate them with any or
all of your profiles. You can monitor one or more lists at a time and/or the
Full Database. You can also export you lists to a file to share them. Deleting a
profile will not delete the lists associated with a profile. However,
deleting a Favorites List will delete it from all profiles.
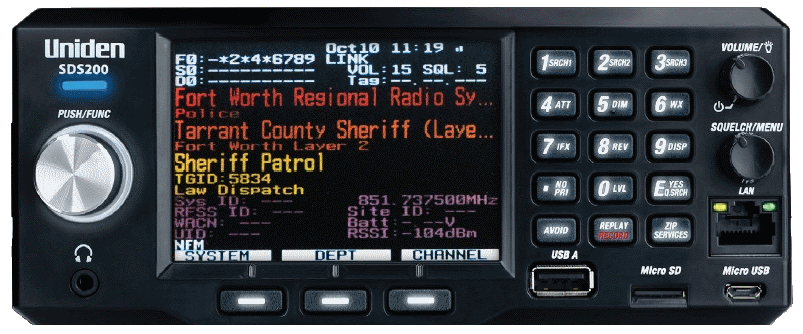
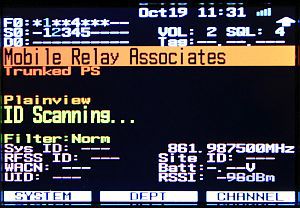
Systems
Systems will hold all of your Sites, Departments, and Channels.
Departments
Departments are also created inside systems. Departments hold frequencies
(channels) for conventional systems and IDs (also called channels) for trunked
systems. Departments are typically used for the various Agencies that you
listen to within a system. If you are familiar with DMA (Dynamic Memory
Architecture) scanners, think of departments as being like 'channel groups'.
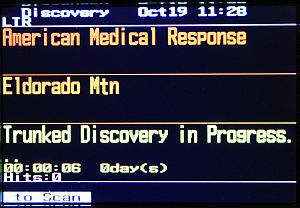
Trunking
Sites
Inside systems are trunked sites hold the trunking frequencies for
any trunking system and any band plan information needed. You will need at
least one site for each trunked system and some systems can have several
sites.
|